Data privacy and control are more important than ever, and cloud storage solutions like Google Drive and Dropbox may not always be the best option. While these platforms offer convenience and accessibility, they come with a hidden cost—your data. When you upload files to these services, you’re essentially handing over control to third-party companies that store, manage, and potentially access your information.
Recent controversies surrounding data breaches and unauthorized data sharing have made users more cautious about who handles their personal and business files. Additionally, changing terms of service can impact how your data is used without your explicit consent. As people become more aware of these risks, the demand for secure, private, and self-hosted cloud storage solutions is on the rise. This is where platforms like Nextcloud come into play, offering users the freedom to manage their own data without sacrificing the convenience of cloud storage.
In this guide, we’ll walk you through how to install and configure Nextcloud, step by step, so you can enjoy the freedom of having your own cloud storage system.
Table of Contents
What is Nextcloud?
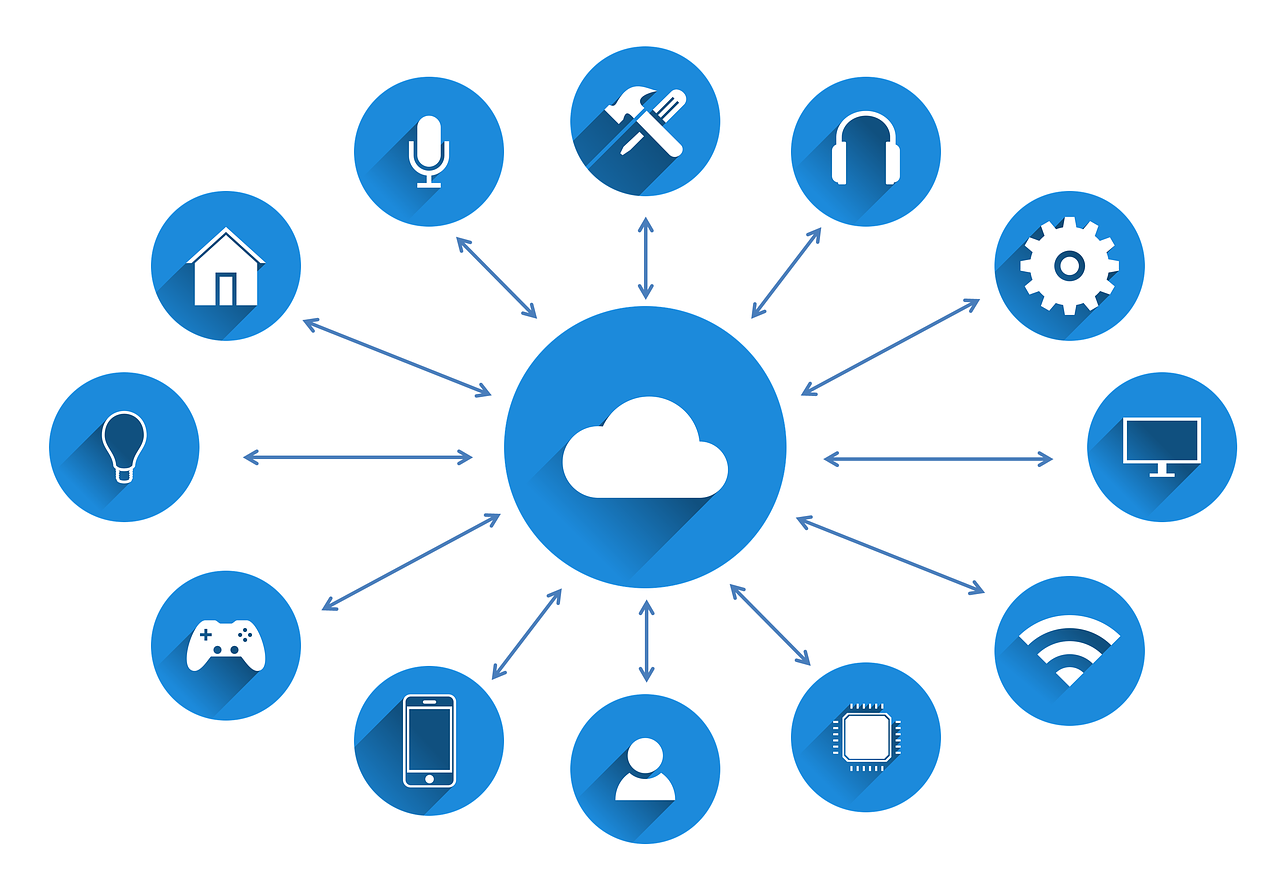
Nextcloud is an open-source, self-hosted cloud storage platform that lets you store, share, and access your files from anywhere. Unlike traditional cloud services like Google Drive or Dropbox, Nextcloud allows you to keep your data on your own server, providing enhanced security and control. It’s perfect for individuals, businesses, and even educational institutions that require data privacy without sacrificing functionality. With features like file synchronization, calendar integration, and collaborative document editing, Nextcloud is a powerful tool for personal and professional use.
Why Choose Nextcloud Over Other Cloud Storage Solutions?
Before proceeding with the installation process, it’s worth understanding why you might choose Nextcloud over other cloud storage solutions.
- Data Privacy and Control: Unlike third-party cloud services, Nextcloud allows you to host your data on your own server. This means you have full control over who accesses your files.
- Customizability: Nextcloud is highly customizable with numerous apps and plugins, allowing you to tailor the platform to your needs.
- Cost-Effective: By hosting your own cloud, you save on subscription fees typically associated with commercial cloud services.
- Enhanced Security: You can implement your own security measures, including encryption and user access controls.
If these benefits sound appealing, then Nextcloud might be the perfect solution for you. Let’s get started on how to install and configure it.
What Are the Requirements for Installing Nextcloud?
Before you begin, make sure you have the following:
- A Server: This can be a VPS (Virtual Private Server), a dedicated server, or even a Raspberry Pi.
- Operating System: Nextcloud is compatible with Linux distributions like Ubuntu and Debian. For this guide, we’ll use Ubuntu 22.04 LTS.
- Software Dependencies: You’ll need a web server (Apache or Nginx), a database (MySQL or MariaDB), and PHP (version 8.0 or later).
- Domain Name (Optional): If you want to access your Nextcloud installation from the internet, having a domain name is recommended.
- SSL Certificate (Optional but Recommended): For secure access, it’s good practice to use HTTPS. You can get a free SSL certificate from Let’s Encrypt.
How to Install Nextcloud on Ubuntu 22.04
Alright, let’s break down the process of installing Nextcloud on Ubuntu 22.04 in a way that’s easy to follow, even if you’re new to this. We’ll simplify the steps and explain things in plain language, so you won’t feel lost. Here’s how to do it:
1. Update Your System
Before installing anything, it’s always good to make sure your system is up to date. This keeps things running smoothly and avoids compatibility issues. Open your terminal and type:
sudo apt update && sudo apt upgrade -y
This updates your system’s package list and installs the latest versions of any software you already have.
2. Install Necessary Software
Nextcloud needs a web server, a database, and PHP to work. We’ll use Apache (web server), MariaDB (database), and PHP. Install them with:
sudo apt install apache2 mariadb-server php php-mysql libapache2-mod-php php-gd php-json php-curl php-mbstring php-intl php-imagick php-xml php-zip php-gmp -y
This installs everything needed for Nextcloud to run smoothly.
3. Start and Enable Services
After installing the software, you need to start and enable the web server and database so they run automatically:
sudo systemctl start apache2
sudo systemctl enable apache2
sudo systemctl start mariadb
sudo systemctl enable mariadb
4. Secure the Database
MariaDB needs to be secured to protect your data. Run:
sudo mysql_secure_installation
You’ll be asked some questions:
- Set a root password: Choose a strong one.
- Remove anonymous users: Yes
- Disallow root login remotely: Yes
- Remove test database: Yes
- Reload privilege tables: Yes
5. Create a Database for Nextcloud
Nextcloud needs its own database to store files and settings. Let’s create one:
sudo mysql -u root -p
Enter the root password you just set, then type the following commands one by one:
CREATE DATABASE nextcloud;
CREATE USER 'nextclouduser'@'localhost' IDENTIFIED BY 'your_password_here';
GRANT ALL PRIVILEGES ON nextcloud.* TO 'nextclouduser'@'localhost';
FLUSH PRIVILEGES;
EXIT;
Replace your_password_here with a strong password.
6. Download and Extract Nextcloud
Go to the Nextcloud website and get the latest version. In the terminal:
cd /tmp
wget https://download.nextcloud.com/server/releases/latest.tar.bz2
tar -xjf latest.tar.bz2
7. Move Files to Web Directory
Next, move the extracted Nextcloud files to the web server directory:
sudo mv nextcloud /var/www/
Then set the correct permissions so Apache can access the files:
sudo chown -R www-data:www-data /var/www/nextcloud
sudo chmod -R 755 /var/www/nextcloud
8. Configure Apache for Nextcloud
Create a new configuration file for Nextcloud in Apache:
sudo nano /etc/apache2/sites-available/nextcloud.conf
Copy and paste this:
<VirtualHost *:80>
    ServerAdmin [email protected]
    DocumentRoot /var/www/nextcloud
    ServerName your_domain_or_IP

    <Directory /var/www/nextcloud/>
        Require all granted
        AllowOverride All
        Options FollowSymLinks MultiViews
    </Directory>

    ErrorLog ${APACHE_LOG_DIR}/nextcloud_error.log
    CustomLog ${APACHE_LOG_DIR}/nextcloud_access.log combined
</VirtualHost>
Replace your_domain_or_IP with your server’s domain name or IP address. Save and exit (press Ctrl+O, then Ctrl+X).
Enable the configuration and modules:
sudo a2ensite nextcloud.conf
sudo a2enmod rewrite headers env dir mime
sudo systemctl restart apache2
9. Complete Installation via Web Interface
- Open your web browser and go to:
http://your_domain_or_IP - You’ll see the Nextcloud setup page.
- Create an admin account by setting a username and password.
- In the Database section:
- Database user:
nextclouduser - Database password: (use the password you set earlier)
- Database name:
nextcloud - Database host:
localhost
- Database user:
- Click Finish Setup.
10. Secure Your Nextcloud (Optional but Recommended)
To secure your Nextcloud with HTTPS, you can use Certbot to get a free SSL certificate from Let’s Encrypt:
sudo apt install certbot python3-certbot-apache -y
sudo certbot --apache
Follow the prompts, and Certbot will configure HTTPS automatically.
And you’re done!
Your Nextcloud is now up and running on Ubuntu 22.04! You can start uploading files, sharing documents, and enjoying your private cloud storage.
How to Secure Your Nextcloud Installation
For enhanced security, it’s strongly recommended to enable HTTPS. You can easily do this with Let’s Encrypt:
sudo apt install certbot python3-certbot-apache -y
sudo certbot --apache
Follow the prompts to get an SSL certificate. This will allow you to access your Nextcloud instance securely over HTTPS. A Nextcloud instance refers to your personal installation of Nextcloud on your server. It’s essentially your own private cloud where you can store, access, and share files, similar to how you’d use Google Drive or Dropbox—but it’s hosted on your server, giving you full control over your data.
Also Read: Data Privacy in the Digital Age: What Everyone Needs to Know
How to Access and Use Nextcloud
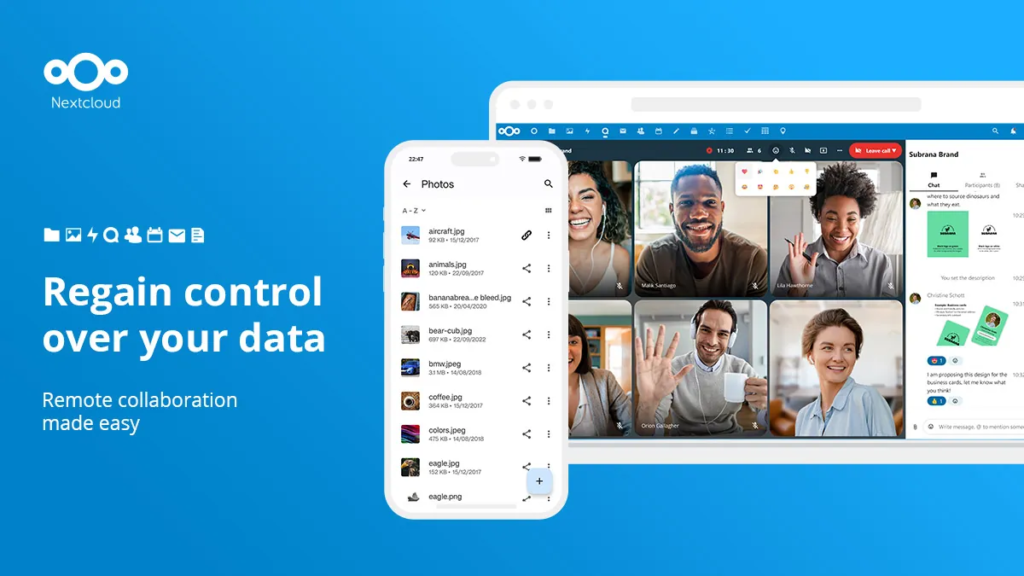
Once installed, you can access Nextcloud using your browser. You can:
- Upload and share files securely.
- Collaborate on documents in real-time.
- Sync your calendar and contacts across all your devices.
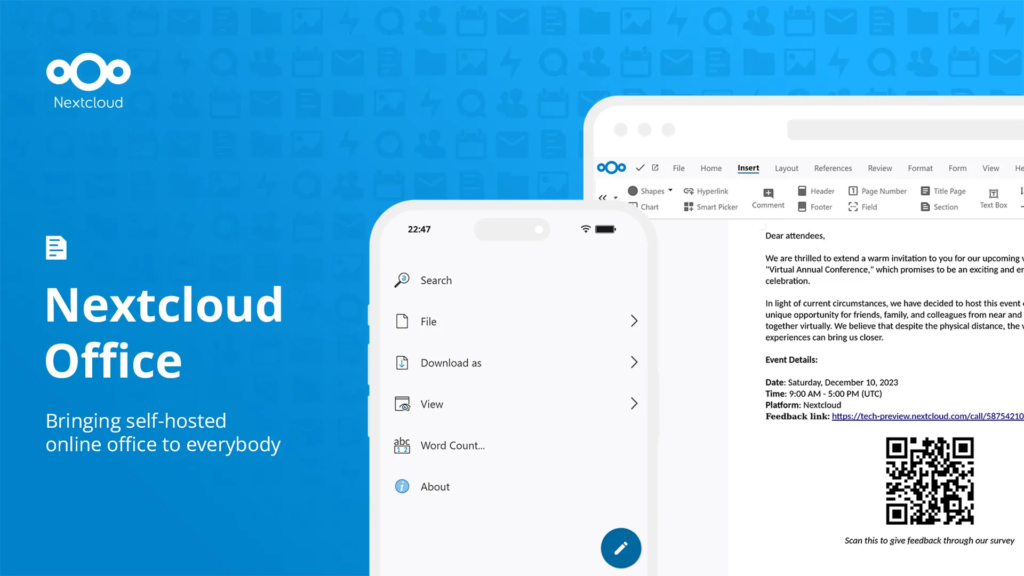
Additionally, Nextcloud offers a suite of productivity tools such as Nextcloud Talk for messaging and video calls, and Nextcloud Office for document editing.
Frequently Asked Questions
- Is Nextcloud free?
Yes, Nextcloud is open-source and free to use. However, paid enterprise support is also available for businesses needing advanced features and professional assistance. - Can I access Nextcloud from my mobile device?
Absolutely! Nextcloud offers mobile apps for both iOS and Android, letting you access your files, calendars, and contacts on the go. - Is it possible to migrate data from Google Drive or Dropbox to Nextcloud?
Yes, you can use the External Storage app in Nextcloud to connect and transfer data from third-party cloud services like Google Drive, Dropbox, and more. - How secure is Nextcloud?
Nextcloud is commited to security with end-to-end encryption, two-factor authentication, and SSL support, ensuring your data is safe from unauthorized access. - Can multiple users collaborate on Nextcloud?
Yes, Nextcloud is designed for multi-user collaboration. It allows real-time document editing, file sharing, and communication through integrated apps like Nextcloud Talk. - Does Nextcloud support third-party integrations?
Definitely! Nextcloud supports numerous third-party integrations, including Microsoft Office Online, Collabora, and OnlyOffice, improving productivity and collaboration. - How do I share files on Nextcloud?
Sharing files is simple. You can create public links with password protection, set expiration dates, or share directly with other Nextcloud users securely. - Can I access Nextcloud offline?
Yes, using the Nextcloud desktop and mobile apps, you can sync files locally and access them offline. Any changes will sync automatically once you’re back online. - What apps are available for Nextcloud?
Nextcloud offers a variety of apps, including Calendar, Contacts, Mail, Notes, and Talk (video conferencing), all available through the Nextcloud App Store. - Is Nextcloud suitable for businesses?
Absolutely! Nextcloud offers enterprise-level solutions, including data compliance, advanced security features, and productivity tools, making it ideal for businesses of all sizes. - Does Nextcloud work with other cloud services?
Yes, using the External Storage app, you can integrate Nextcloud with cloud services like Google Drive, Dropbox, Amazon S3, and more. - How do I update Nextcloud?
You can update Nextcloud using the built-in updater in the admin panel or manually through the command line. Always back up your data before updating. - Is Nextcloud GDPR compliant?
Yes, Nextcloud is fully GDPR compliant, giving you control over your data privacy and security settings. - Can I customize Nextcloud’s interface?
Yes, Nextcloud is highly customizable. You can change themes, add custom logos, and rearrange the layout to fit your personal or organizational preferences. - Is Nextcloud better than Google Drive?
Unlike Google Drive, Nextcloud is self-hosted, offering complete data control, privacy, and extensive customization options, making it a powerful alternative.
Setting up Nextcloud might seem complex at first, but the benefits of having your own private cloud are well worth the effort. Not only do you get full control over your data, but you also enjoy the flexibility and security that come with self-hosting.