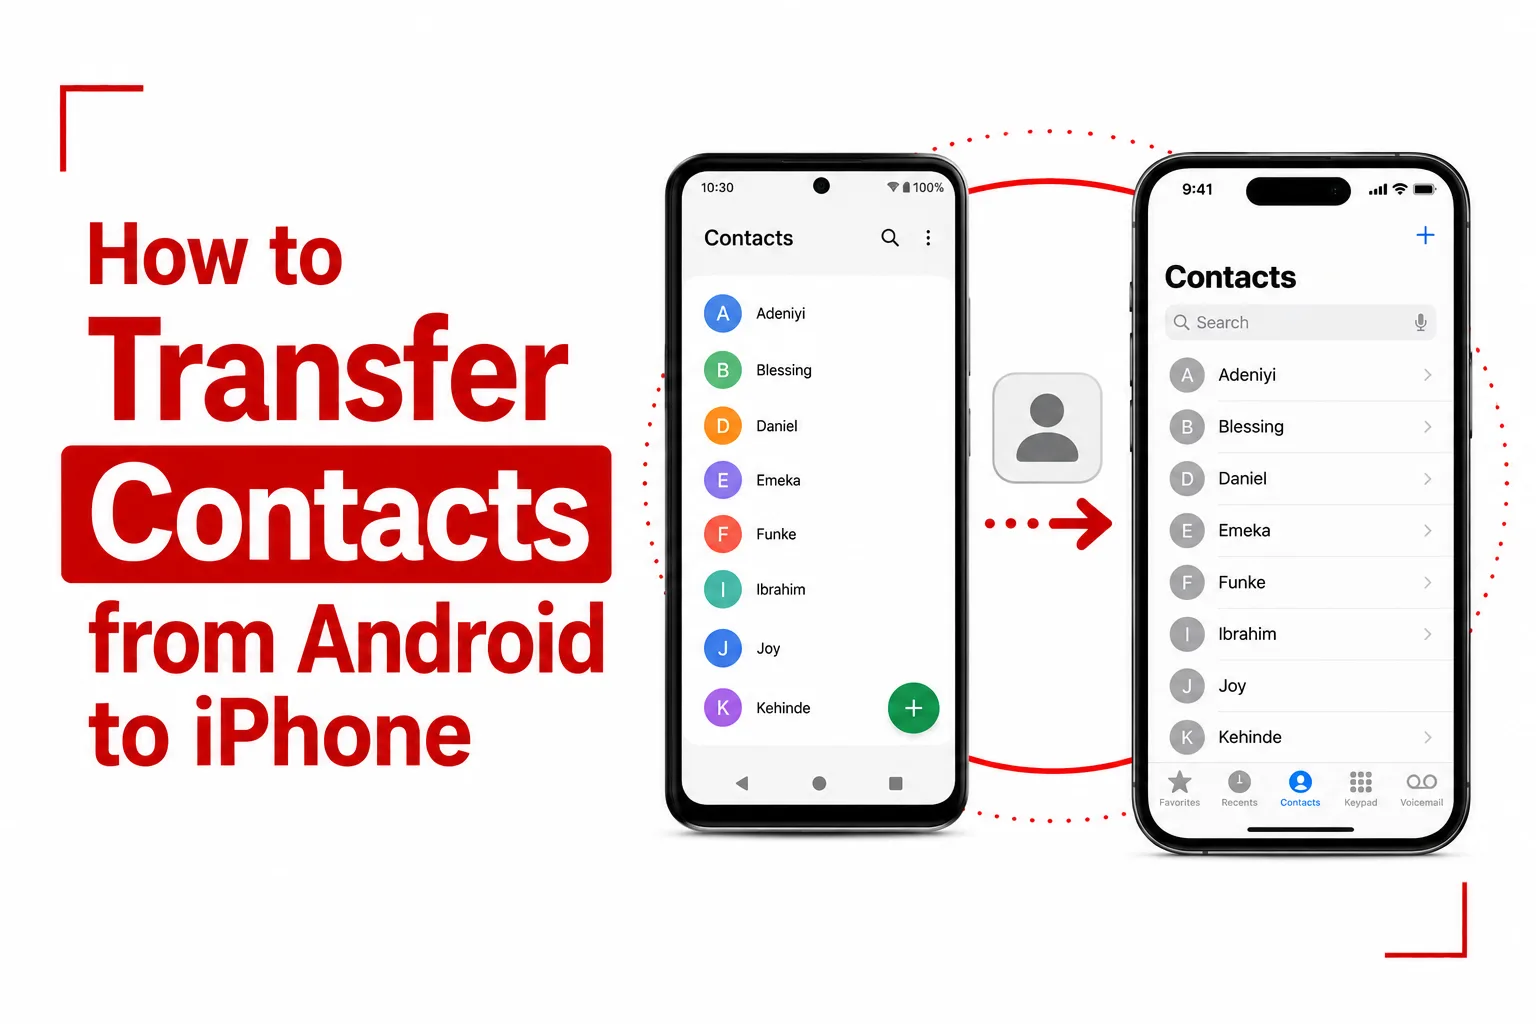

There are several easy ways to transfer contacts from Android to iPhone without entering each number manually. If you are moving to a new iPhone, you can bring your contacts across using Apple’s Move to iOS app, Google Account sync, a VCF file, or your SIM card.
The best method depends on where your contacts are currently stored and if you have already finished setting up the iPhone. Move to iOS is the most convenient option during the initial setup, while Google Account sync works well if the iPhone is already in use. A VCF file can also help when your contacts are stored locally on the Android phone and are not synced to an online account.
Before starting, make sure both phones have an active Wi Fi connection. Keep the Android phone charged or connected to power, and have an Apple Account ready for the iPhone setup if you are using Move to iOS.
Quick Navigation
Method 1: Move to iOS During iPhone Setup
Apple’s Move to iOS app is the easiest option when you are setting up a new iPhone. It can transfer contacts along with other supported data during the setup process.
Step 1: Install Move to iOS
Download the Move to iOS app from the Google Play Store on your Android phone, then open it.
Step 2: Start iPhone Setup
Turn on the new iPhone and follow the setup process until you reach the Transfer Your Apps & Data screen.
Step 3: Select From Android
Choose From Android on the iPhone.
Step 4: Enter the Code
A six digit or ten digit code will appear on the iPhone. Enter the code into the Move to iOS app on your Android phone.
Step 5: Connect the Phones
The iPhone will create a temporary Wi Fi network. When prompted on the Android phone, tap Connect to join that network.
Step 6: Select Contacts
Choose Contacts from the list of available data, then tap Continue.
Step 7: Let the Transfer Finish
Keep both phones close to each other and connected to power if possible. Wait until the transfer progress bar on the iPhone finishes before using either device.
Related Article: How to Clear “insufficient storage” on Android
Method 2: Sync Contacts With a Google Account
Google Account sync is useful if your iPhone has already been set up. You do not need to erase the iPhone or start the setup process again. This method works when your Android contacts are already saved to the Google Account you plan to use on the iPhone.
Step 1: Check Google Contacts Sync on Android
On the Android phone, open Settings > Accounts > Google and make sure contact synchronization is enabled. The exact menu names can vary between Android manufacturers, so you may also find the setting under Passwords & accounts, Accounts and backup, or a similar section.
Step 2: Add the Google Account to Your iPhone
On the iPhone, open Settings > Contacts > Accounts.
Step 3: Add a New Account
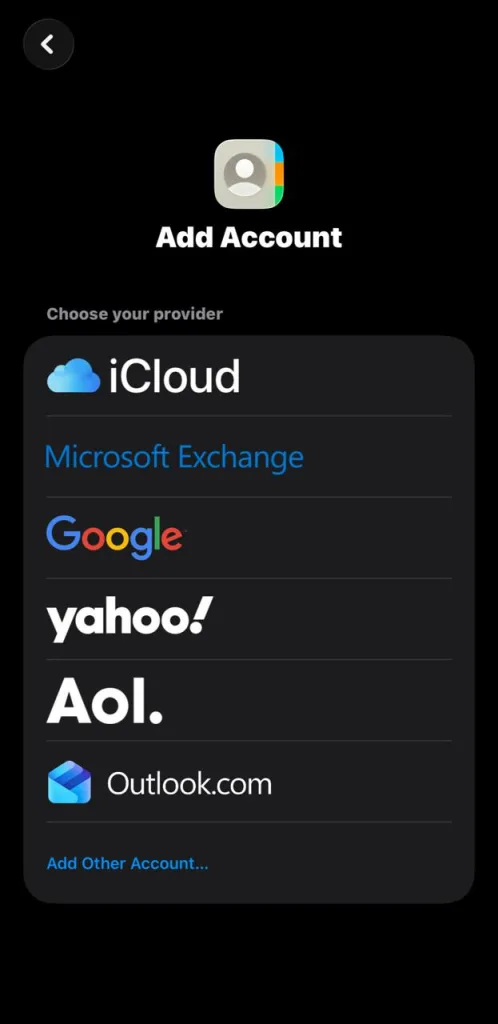
Tap Add Account, select Google, and sign in with the same Google Account used on your Android phone.
Step 4: Turn On Contacts
Switch on Contacts, then tap Save.
Step 5: Check Your Contacts
Open the Contacts app on the iPhone. Your Google contacts should appear automatically after synchronization finishes.
Related Article: How to Turn Off Private Number on Android and iPhone
Method 3: Transfer Contacts With a VCF File
A VCF file is useful when your contacts are stored locally on the Android phone and are not connected to a Google Account.
Step 1: Open Contacts on Android
Open the Contacts app on your Android phone.
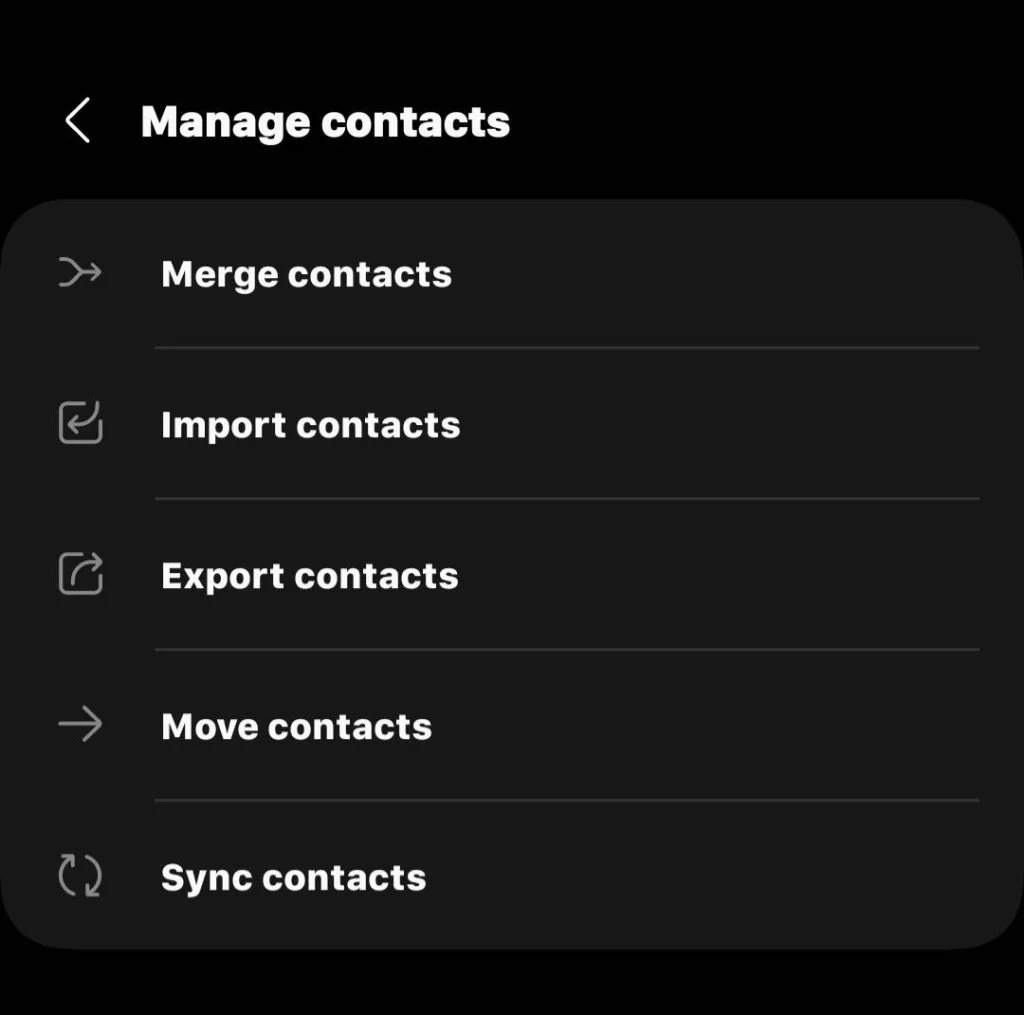
Step 2: Export Your Contacts
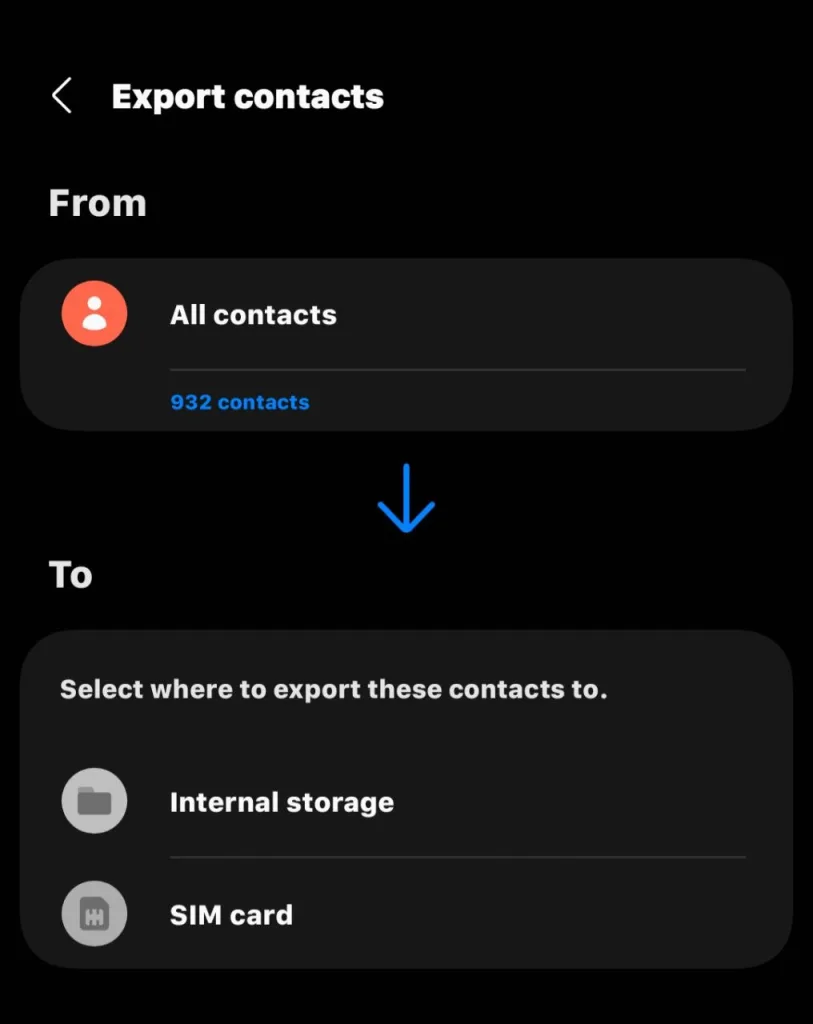
Look for Settings, Fix & manage, or the contacts management section, then select Export to file. Save the resulting .vcf file to your phone.
Step 3: Send the VCF File to Your iPhone
You can send the file to yourself by email or move it through a cloud storage service such as Google Drive.
Step 4: Open the File on Your iPhone
Open the .vcf file on the iPhone.
Step 5: Import the Contacts
Tap Add All Contacts to add the contacts from the file to your iPhone address book.
Method 4: Import Contacts From a SIM Card
This option only works for contacts that are actually stored on the physical SIM card.
Step 1: Move the SIM Card
If the Android phone and iPhone use compatible physical SIM cards, move the SIM card from the Android phone to the iPhone.
Step 2: Open Contacts Settings
On the iPhone, go to Settings > Apps > Contacts on newer versions of iOS, or Settings > Contacts on older versions.
Step 3: Import the Contacts
Tap Import SIM Contacts.
Step 4: Select Where to Save Them
Choose the account where you want the imported contacts stored, such as iCloud or another available account.
Related Article: How to Transfer Contacts from iPhone to Android
Things to Check Before Transferring Contacts
Find Where Your Contacts Are Stored
Not every contact on an Android phone is necessarily stored in your Google Account. Some may be saved only on the phone itself or on the SIM card. If your contacts are stored locally, Google synchronization will not move them automatically. Exporting them as a VCF file or transferring them to your Google Account first can solve this problem.
Watch for Duplicate Contacts
Using more than one transfer method can create duplicate entries. For example, importing a VCF file after adding the same Google Account to the iPhone may bring in the same contacts twice. If you see duplicates, use the Merge Duplicates option in the iPhone Contacts app to clean up your address book.
Which Method Should You Use?
Use Move to iOS if you are setting up a new iPhone and want to transfer contacts as part of the initial migration. Use Google Account sync if your contacts are already stored in Google and your iPhone has been set up. Use a VCF file if your contacts are stored locally on the Android phone. Use SIM transfer if your contacts are specifically saved to the physical SIM card.
For most Android to iPhone transfers, Move to iOS or Google Account sync will be the simplest options. A VCF file gives you another way to move contacts when they are stored locally, while SIM import is useful for the smaller number of contacts saved directly to a SIM card.