Your car’s engine has thousands of moving metal parts grinding against each other at high speeds. Without proper lubrication, these parts would create so much friction and heat that your engine would seize up and die within minutes. Engine oil is what keeps everything running smoothly, and checking it regularly is one of the simplest yet most important maintenance tasks you can do yourself.
Many drivers never check their oil until a warning light appears on the dashboard, and by then, damage might already be happening. Low oil levels force your engine to work harder, increase wear on components, reduce fuel efficiency, and can lead to expensive repairs or complete engine failure. A quick oil check every few weeks takes less than five minutes and can save you thousands in repair costs.
Checking your oil requires no special skills or tools. You don’t need to be a mechanic or even particularly handy with cars. If you can open your car’s hood and read simple markings on a stick, you can check oil level in a car. Let’s walk through exactly how to do it properly so you can keep your engine healthy and catch potential problems before they become serious.
When Should I Check My Oil?
Timing affects the accuracy of your oil reading. The best time to check is when the engine is cold, ideally before you’ve driven the car that day. When the engine runs, oil circulates throughout the system, coating various components. When you turn the engine off, it takes 10 to 15 minutes for all that oil to drain back down into the oil pan where you measure it from. If you check immediately after driving, the dipstick will show a lower level than what’s actually there because oil is still distributed throughout the engine. This gives you a false reading that might make you think you need to add oil when you don’t.
Early morning is perfect. The car has sat overnight, all the oil has settled, and you get the most accurate reading. If you must check after driving, turn the engine off and wait at least 10 to 15 minutes before checking.
How often should you check? Older cars benefit from weekly checks because they tend to consume or leak oil more than newer vehicles. Modern cars are more efficient, so checking every two weeks or once a month is usually sufficient. If you notice oil spots under your car or the engine seems louder than usual, check immediately.
Also check before long trips. If you’re driving several hundred kilometers, verifying your oil level beforehand prevents being stranded far from home with a seized engine.
Where Is the Dipstick Located?
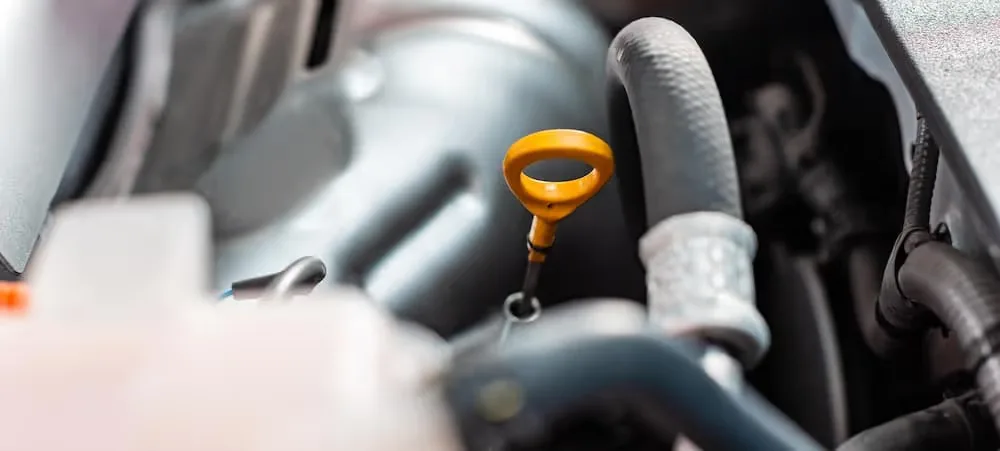
Pop your hood by pulling the hood release lever inside your car, usually located near the driver’s side footwell. Then go to the front of the car and release the safety latch under the hood to fully open it. Prop the hood up with the support rod if your car doesn’t have automatic hood struts. Look for the dipstick. It’s usually a brightly colored handle, often yellow or orange, sticking out from the engine. The handle is looped or T-shaped, designed to be easy to grip and pull. On most cars, it’s located toward the front or side of the engine block.
Some cars have the dipstick clearly labeled with an oil can symbol. Others require a bit more searching. If you’re struggling to find it, check your owner’s manual. Every car is different, but the dipstick is always accessible from the top of the engine bay. Be careful not to confuse the oil dipstick with other dipsticks or caps. Some cars have transmission fluid dipsticks, power steering fluid reservoirs, or windshield washer fluid tanks that might look similar. The oil dipstick is connected to the engine block itself, not separate reservoir tanks.
If your car is very new, particularly certain luxury or electric hybrid models, it might not have a traditional dipstick. Some modern vehicles use electronic oil level sensors and display the level on the dashboard. Check your manual to see if your car has electronic monitoring instead.
How Do I Actually Check Oil Level in a Car?
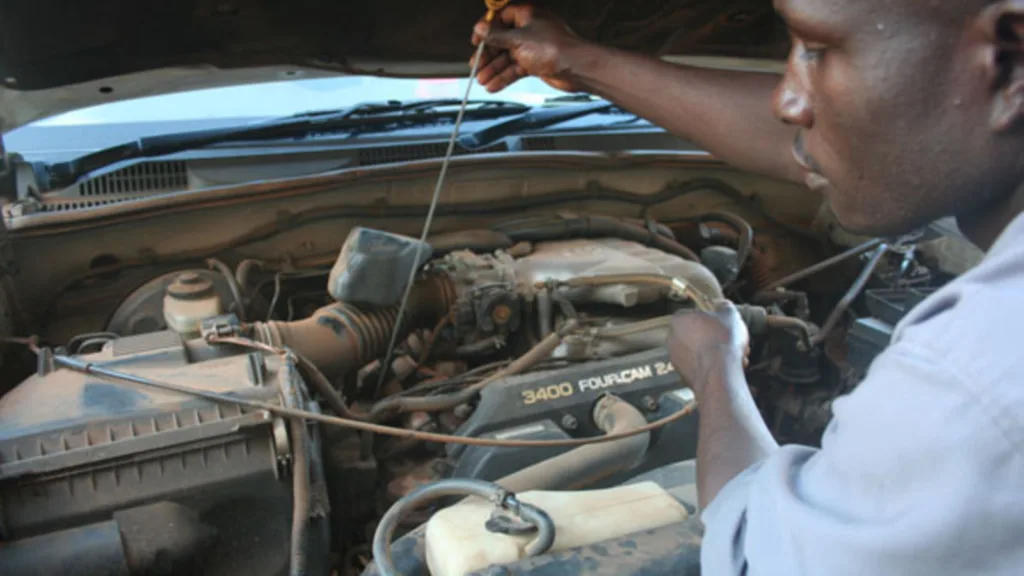
Once you’ve located the dipstick, pull it out completely. It should slide out smoothly without force. If it feels stuck, don’t yank it; gently wiggle it while pulling. The dipstick will likely have oil on it already, but this first pull doesn’t give you an accurate reading. Wipe the dipstick completely clean with a paper towel or clean rag. Make sure you remove all the oil so you can see the markings clearly.
Look at the bottom of the dipstick. You’ll see two marks, dots, holes, or a textured area indicating the minimum and maximum oil levels. These might be labeled “MIN” and “MAX,” or “L” and “H” for low and high, or simply have two dots or lines.
Now reinsert the clean dipstick fully back into the tube. Push it all the way down until it’s seated completely, then pull it out again. This time, the oil level you see is accurate.
Check where the oil line falls between the minimum and maximum marks. Ideally, it should be near the maximum mark or at least in the middle range. If the oil reaches or is above the maximum mark, you have too much oil, which can also cause problems. If it’s at or below the minimum mark, you need to add oil soon.
The oil’s color and consistency also tell you things. Fresh oil is amber or light brown and relatively clear. As oil ages and accumulates contaminants, it turns darker brown or black and becomes grittier. Very dark, thick oil might indicate it’s time for an oil change, even if the level is acceptable.
If you see milky, light-colored oil or notice a creamy residue, this suggests coolant is mixing with your oil, indicating a serious problem like a blown head gasket. Get this checked immediately.
Also Read: How Long Does It Take to Charge an Electric Car?
What Do I Do If the Oil Is Low?
If your oil level is between the minimum and maximum marks but closer to minimum, plan to add oil within the next week or so. If it’s at or below the minimum mark, add oil as soon as possible, ideally before driving the car again. To add oil, locate the oil filler cap on top of the engine. This is usually a larger cap than the dipstick, often labeled “Engine Oil” or marked with an oil can symbol. Unscrew this cap.
Check your owner’s manual to confirm what type of oil your car requires. Using the wrong oil viscosity or type can harm your engine. Common specifications include 5W-30, 10W-30, or 5W-40, but your specific car might need something different. Add oil slowly. Pour in about half a liter, wait a minute for it to settle, then check the dipstick again. It’s easy to overfill, and too much oil creates pressure that can damage seals and gaskets, causing leaks.
Repeat this process, adding small amounts and checking until the level reaches the area between the minimum and maximum marks, ideally closer to maximum. Don’t fill past the maximum mark. Once the level is correct, replace the oil filler cap securely and make sure the dipstick is fully reinserted. Close your hood and you’re done.
Why Is My Car Losing Oil
If you’re frequently adding oil between oil changes, something’s wrong. Cars do consume small amounts of oil naturally, especially older vehicles or those with high mileage, but excessive consumption indicates a problem. Check under your car after it’s been parked for a while. Fresh oil spots mean you have a leak. Leaks can come from the oil pan gasket, valve cover gasket, oil filter, or various seals. These need professional repair.
If there are no visible leaks but you’re still losing oil, the engine might be burning it. Blue-gray smoke from the exhaust indicates oil burning, usually due to worn piston rings or valve seals. This is more serious and expensive to fix. High-mileage engines naturally consume more oil as seals and rings wear out. If your car has over 150,000 kilometers, needing to add a liter of oil between changes isn’t unusual. Just monitor it regularly and keep oil in your car for top-ups. Newer cars shouldn’t consume noticeable oil between changes. If your relatively new car constantly needs oil added, take it to a mechanic.
Can I Check Oil While the Engine Is Running?
Never check oil with the engine running. This is dangerous and gives inaccurate readings. Oil circulates through the engine when it’s running, so the dipstick won’t show the true level in the oil pan. Additionally, checking with the engine running risks hot oil splashing on your hands when you pull the dipstick, potentially causing burns. Moving engine parts near the dipstick also create injury risks. Always turn the engine completely off, wait for things to settle, then check. Safety first, always.
How Often Should I Change My Oil?
Checking oil level and changing oil are different things. Checking is something you do regularly between oil changes to ensure the level stays adequate. Changing oil means draining all the old oil and replacing it with fresh oil and a new filter. Most modern cars need oil changes every 5,000 to 10,000 kilometers, depending on the oil type and driving conditions. Synthetic oil lasts longer than conventional oil. Your owner’s manual specifies the recommended interval for your specific car.
Severe driving conditions like frequent short trips, extreme temperatures, dusty environments, or lots of stop-and-go traffic require more frequent changes, closer to 5,000 kilometers. Many people follow the “every 5,000 kilometers or 6 months, whichever comes first” rule as a safe default. This might be more frequent than necessary for some cars, but it’s better to change oil slightly early than too late.
Regular oil checks between changes help you catch developing problems early. If you just changed your oil but the level drops significantly within 1,000 kilometers, you know something’s wrong and can address it before major damage occurs.
Taking five minutes every few weeks to check your oil is one of the easiest ways to extend your engine’s life and avoid expensive repairs. It costs nothing but a minute of your time and gives you valuable information about your car’s health. Make it a habit, and your engine will thank you with years of reliable service.