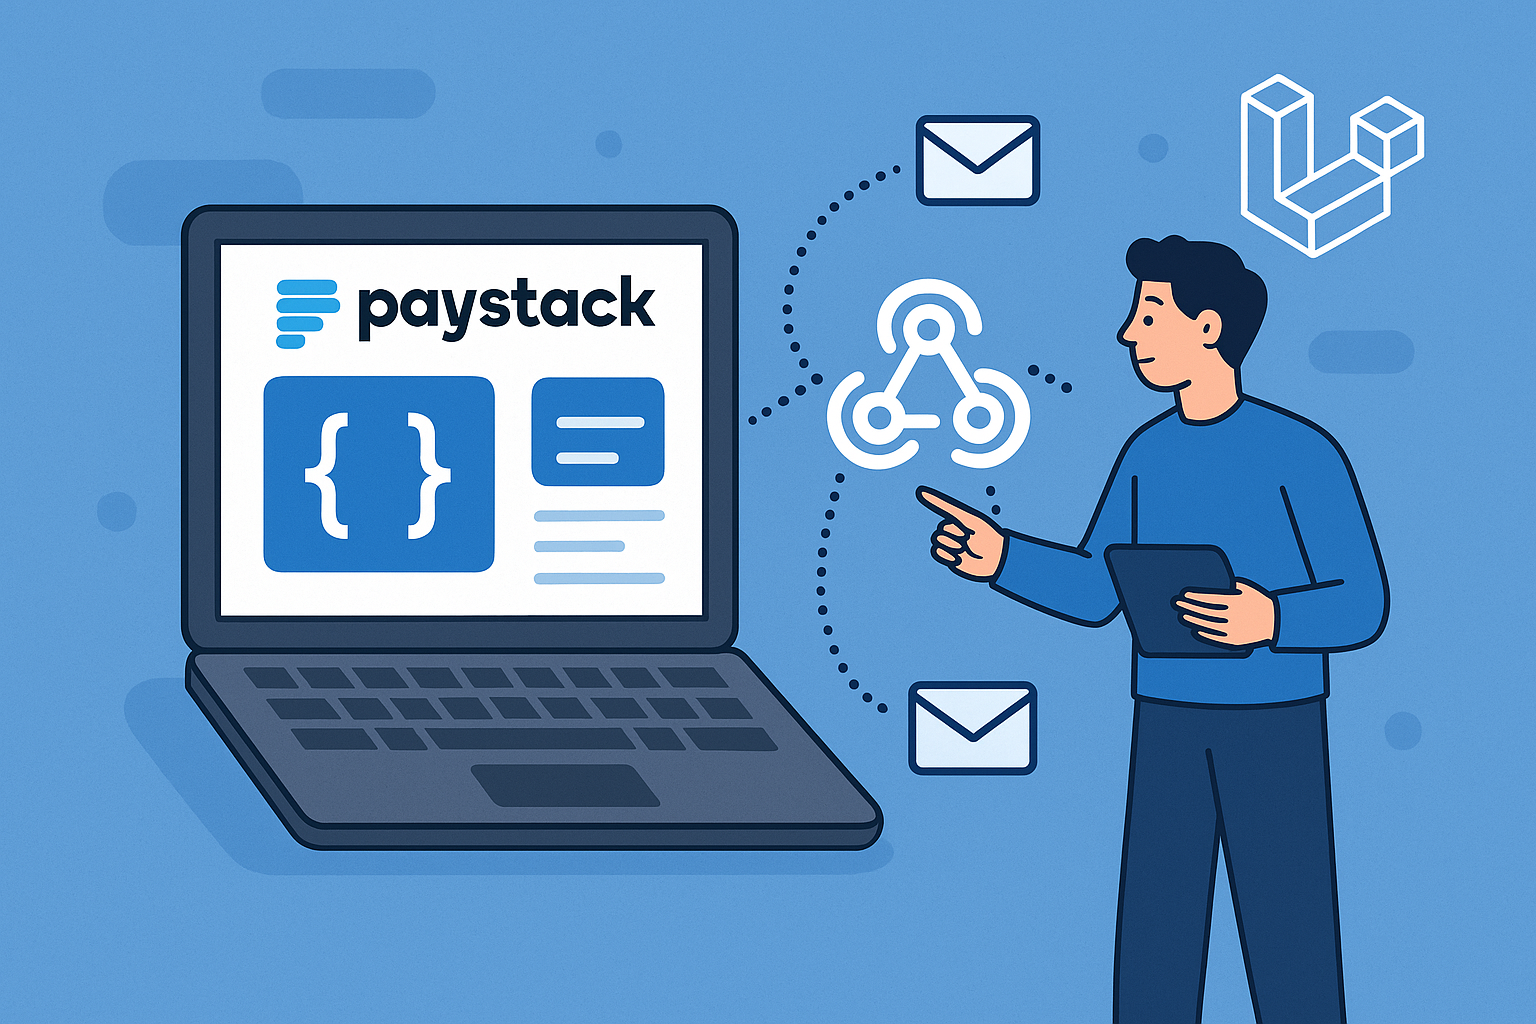
When working on online payment systems, ensuring your app stays updated about every payment event is important. Paystack is one of the leading payment gateways used across Africa offering a reliable way to accept payments from customers. But to get real-time updates on payment status, you need to use webhooks. If you have a Laravel app and want to handle these Paystack notifications efficiently, setting up webhooks correctly is the way to go.
This guide is friendly for both beginners and developers who want a clear, practical approach. By the end, your Laravel app will be ready to receive payment events and respond accordingly.
Quick Navigation
What Are Paystack Webhooks and Why Use Them?
A webhook is a way for Paystack to send notifications to your app automatically when something happens, like when a payment is successful, failed, or disputed. Instead of your app constantly checking Paystack for updates, Paystack reaches out to your app with the event data. This helps keep your system synchronized with real payment events without delay.
Using Paystack webhooks means you can:
- Update order statuses in real time
- Trigger actions like sending receipts or alerts
- Automate workflows and reduce manual checks
In short, webhooks make your app smarter and faster when handling payments.
What Do You Need Before Setting Up Paystack Webhooks in Laravel?
Before starting, make sure you have the following ready:
- A Laravel project set up and running
- A registered Paystack business account with API keys
- A server or local environment that can receive external requests (tools like Ngrok work well for local development)
It is also helpful to understand the basics of Laravel routing and controllers because you will be creating endpoints to listen for webhook events.

How to Create a Paystack Webhook Endpoint in Laravel?
Your Laravel app needs an endpoint URL that Paystack can send webhook data to. Here is how to create one:
Step 1: Define a Route for the Webhook
Open your routes file (routes/api.php or routes/web.php) and add a POST route. This route will listen for incoming webhook calls from Paystack.
use App\Http\Controllers\PaystackWebhookController;

Route::post('/paystack/webhook', [PaystackWebhookController::class, 'handle']);
Step 2: Create a Controller to Handle the Webhook
Next, create a controller that will process the webhook data.
Run this command in your terminal:
php artisan make:controller PaystackWebhookController
Then open the new controller file and add a method named handle:
<?php

namespace App\Http\Controllers;

use Illuminate\Http\Request;

class PaystackWebhookController extends Controller
{
    public function handle(Request $request)
    {
        // Get the JSON payload sent by Paystack
        $payload = $request->all();

        // Log or process the webhook data here
        \Log::info('Paystack Webhook Received:', $payload);

        // Respond to Paystack with a 200 status to acknowledge receipt
        return response()->json(['status' => 'success'], 200);
    }
}
How to Verify That the Webhook Is Coming from Paystack?
Verifying the webhook’s source is important to make sure the data is coming from Paystack and not a malicious third party. Paystack sends a signature header you can use to verify authenticity.

Here is a basic example of verification:
public function handle(Request $request)
{
    $signature = $request->header('x-paystack-signature');
    $secret = env('PAYSTACK_SECRET_KEY');

    $payload = $request->getContent();

    // Generate the hash
    $hash = hash_hmac('sha512', $payload, $secret);

    if ($hash !== $signature) {
        return response()->json(['message' => 'Invalid signature'], 400);
    }

    $data = json_decode($payload, true);

    // Proceed with handling verified webhook data
    \Log::info('Verified Paystack Webhook:', $data);

    return response()->json(['status' => 'success'], 200);
}
Make sure to add your Paystack secret key to your .env file like this:
PAYSTACK_SECRET_KEY=your_paystack_secret_key_here
What Kind of Events Can Paystack Webhooks Send?
Paystack webhooks can notify you about many types of events. The most common ones are:
charge.success: Payment was successfulcharge.failed: Payment failedtransfer.success: Transfer to bank was successfultransfer.failed: Transfer to bank failedrefund.success: A refund was processed
Your webhook handler can look at the event type and decide what to do next.
if ($data['event'] == 'charge.success') {
    // Mark order as paid
} elseif ($data['event'] == 'charge.failed') {
    // Notify customer of failure
}
This lets your app respond to each payment event properly.
How Do I Test Paystack Webhooks During Development?
Testing webhooks locally can be tricky because Paystack needs to send requests to a public URL. To make your local Laravel app accessible, you can use Ngrok or similar tunneling tools.
Steps to Test Locally
- Install Ngrok on your computer
- Run
ngrok http 8000(or whatever port your Laravel app runs on) - Ngrok will give you a public HTTPS URL like
https://abc123.ngrok.io - Use this URL to set your webhook URL in the Paystack dashboard (e.g.
https://abc123.ngrok.io/paystack/webhook) - Trigger payments and watch your Laravel app logs for webhook calls
This approach lets you debug webhook handling before going live.
How to Register Your Webhook URL on Paystack?
After setting up your Laravel webhook endpoint, you need to register this URL with Paystack.
Steps to Add Webhook URL on Paystack
- Log into your Paystack dashboard
- Go to Settings and then API
- Scroll to the Webhook URL section
- Enter your Laravel webhook URL (e.g.,
https://yourdomain.com/paystack/webhook) - Save changes
Now, Paystack will send payment event notifications to this URL automatically.
What Are Common Issues When Setting Up Paystack Webhooks in Laravel?
While setting up, you might face some issues like:
- Invalid Signature Errors: Make sure your secret key is correct and you are verifying the signature properly.
- 404 Not Found: Check your route is correctly defined and accessible publicly.
- Timeouts or No Response: Your webhook handler should respond quickly with HTTP status 200. Avoid long processing inside the webhook.
- Not Receiving Webhooks: Confirm webhook URL is registered on Paystack and your server can receive external requests.
Checking logs often helps find the cause quickly.
Can You Automate Business Actions with Paystack Webhooks?
Yes, webhooks allow your Laravel app to automate many important actions. For example:
- Automatically mark orders as paid once payment is confirmed
- Send email receipts or SMS notifications instantly
- Update inventory or user account balances
- Trigger refunds or follow-up actions for failed payments
Using Paystack webhooks with Laravel is an excellent way to build a robust payment system that responds in real time. The setup requires just a few steps: creating the webhook endpoint, verifying the signature, registering the URL on Paystack, and handling events based on your business logic.
Once running, your app will be ready to listen for all payment events, update your system instantly, and provide a smooth experience for your customers. Webhooks take the guesswork out of payment status and help you stay in control. This setup might seem technical at first, but following this simple guide will get you up and running quickly.